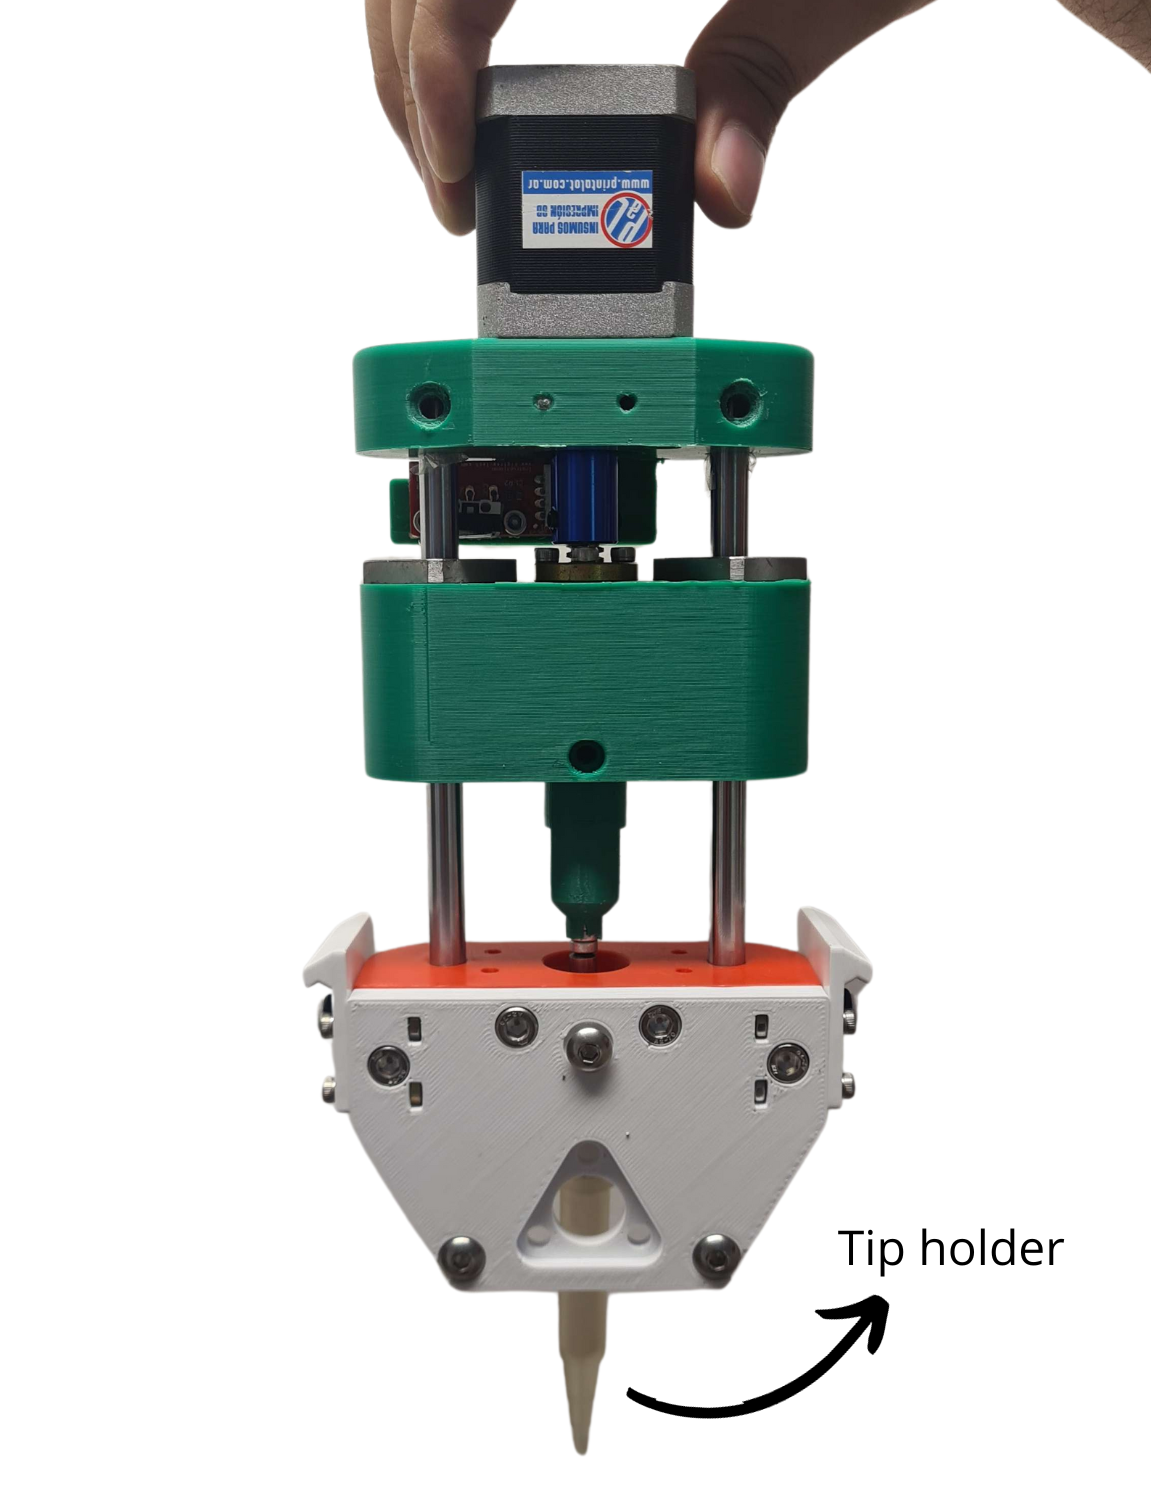
Tip Holder
Warning
Extremely verbose, lacking substance. Will reduce or merge with other pages eventually.
Pipettin Holder
Originally used for free software, open source projects have been applied to hardware, including scientific tools. With the rise of 3D printing, more open projects are emerging to develop affordable scientific tools that can be made in-house.
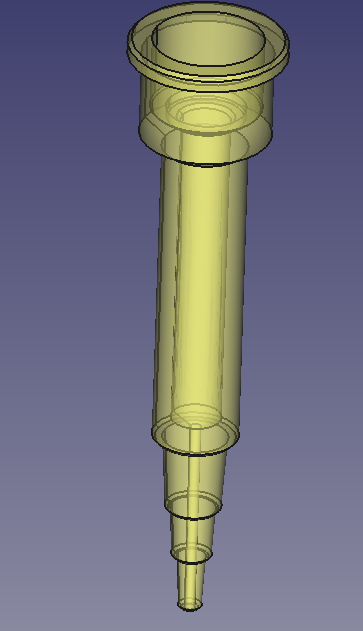
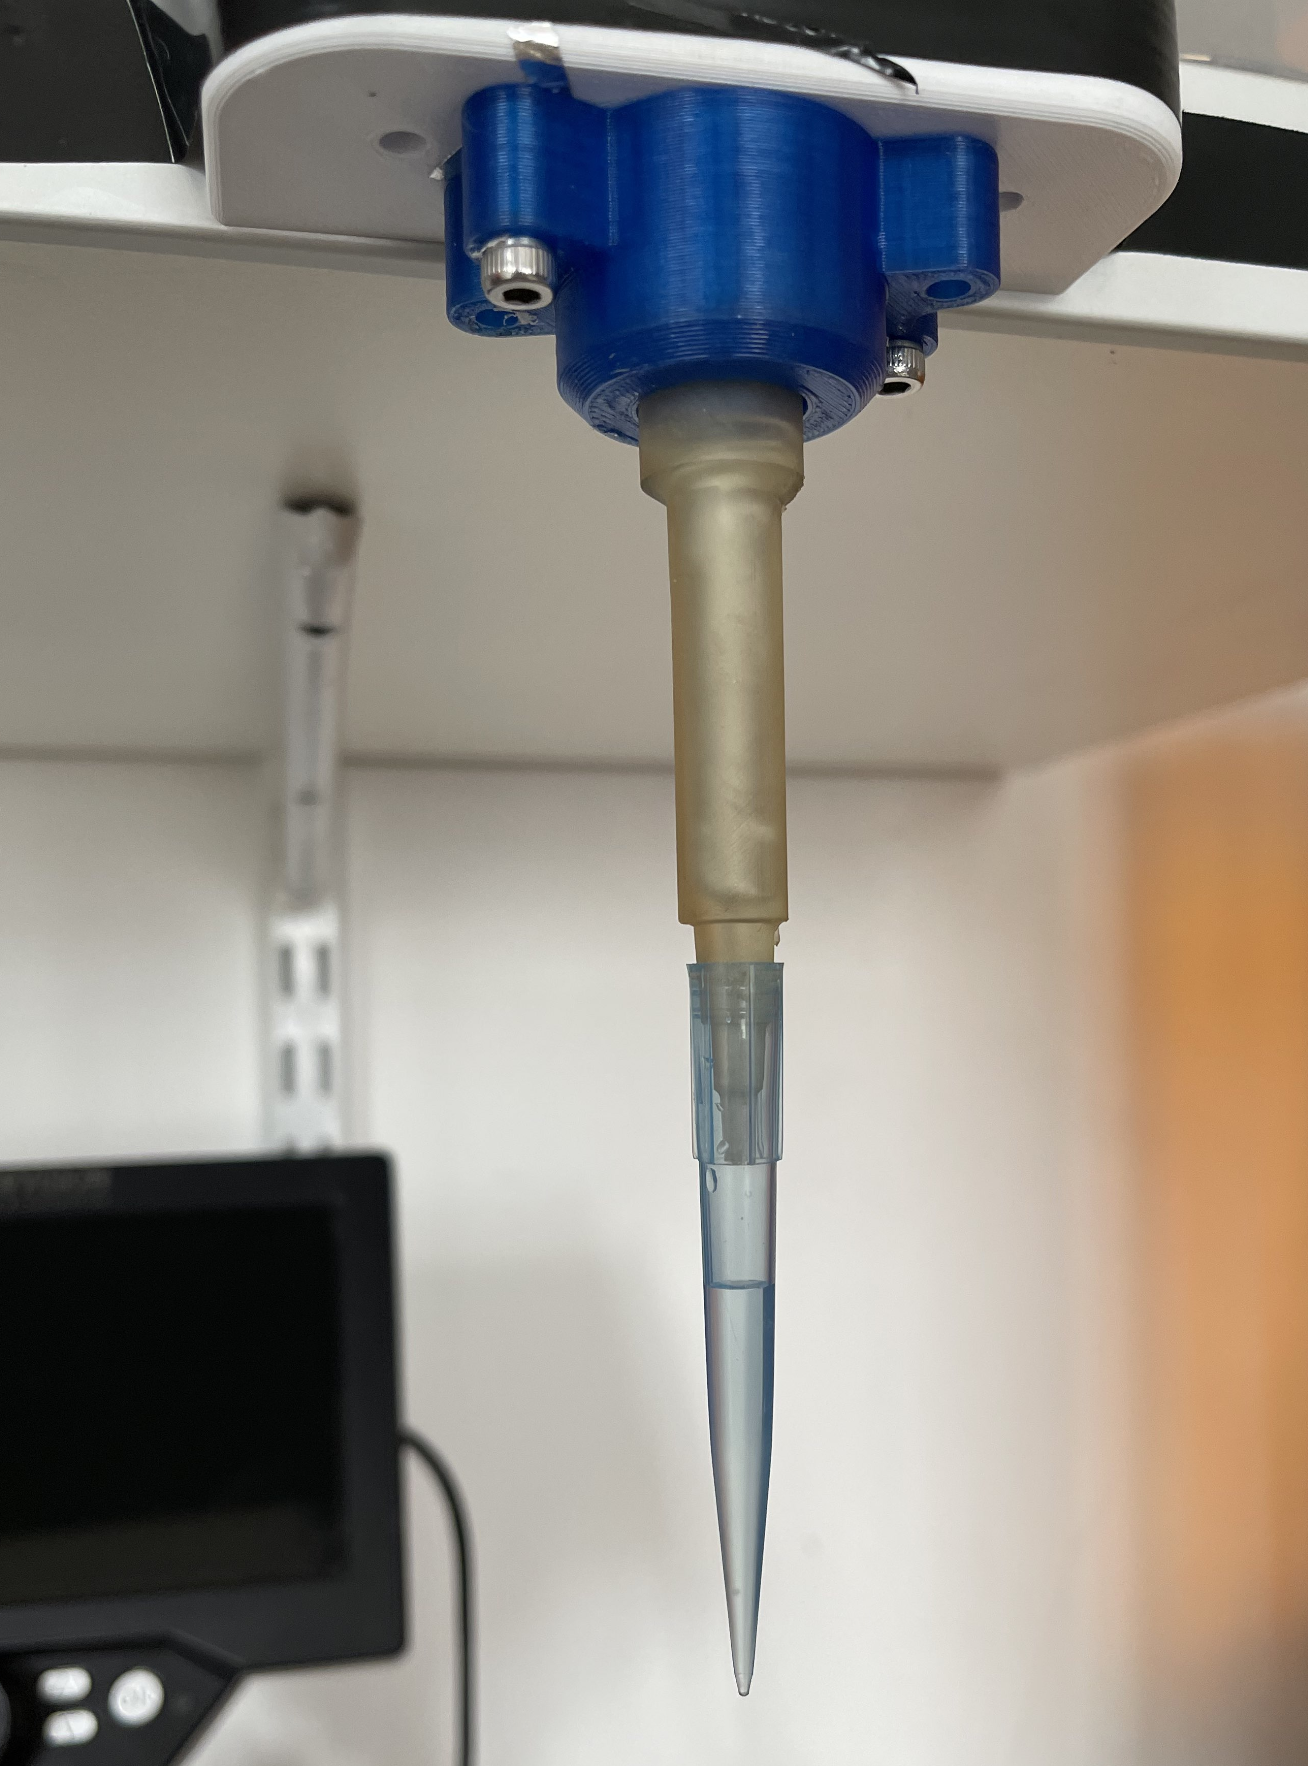
We're presenting our design for a micropipette, made from 3D-printed parts and some other components.
Open design tools offer scientists and educational programs in remote or resource-limited areas the opportunity to engage with affordable and easily manufacturing tools. Additionally, open source development allows for the creation of customized solutions tailored to specific needs, which may not be addressed by commercial products. These solutions can be freely shared and modified by users, promoting innovation and collaboration within the scientific community.
Expected results:
When it comes to designing and assembling a pipette adapter, there are three primary options to consider: injection molding, resin 3D printing, and turning. Each method offers its unique set of advantages and considerations, allowing you to choose the best approach for your specific needs.
Injection Molding:
- Efficiency: Injection molding is known for its high production efficiency. It's ideal for mass-producing pipette adapters with consistent quality.
- Material Selection: A wide range of materials, including thermoplastics, can be used for injection molding, offering flexibility in choosing the best material for the job.
- Tooling Costs: While setting up injection molds can be expensive initially, the cost per unit decreases significantly with higher production volumes.
Resin 3D Printing:
- Customization: Resin 3D printing allows for intricate and customized designs. It's suitable for prototyping and creating complex, one-of-a-kind adapters.
- Quick Turnaround: This method is relatively fast for small-batch production and rapid prototyping.
- Material Limitations: Resin 3D printing may have limited material options compared to injection molding, which could impact the durability and chemical resistance of the adapter.
Turning:
- Precision: Turning is a highly precise method, well-suited for crafting adapters with specific dimensions and tight tolerances.
- Material Compatibility: It can work with a variety of materials, including metals and plastics, depending on the desired properties of the adapter.
- Limited for Complex Shapes: Turning is less suitable for intricate or highly complex designs compared to the other two methods.
Ultimately, the choice between these three options will depend on factors such as your budget, production volume, design complexity, and material requirements. For large-scale production of standard pipette adapters, injection molding is often the preferred choice due to its cost-efficiency.
However, if you require customization or are working on a smaller scale, resin 3D printing or turning may be more suitable. Each method has its strengths, and selecting the right one will ensure that your pipette adapter meets your specific needs.
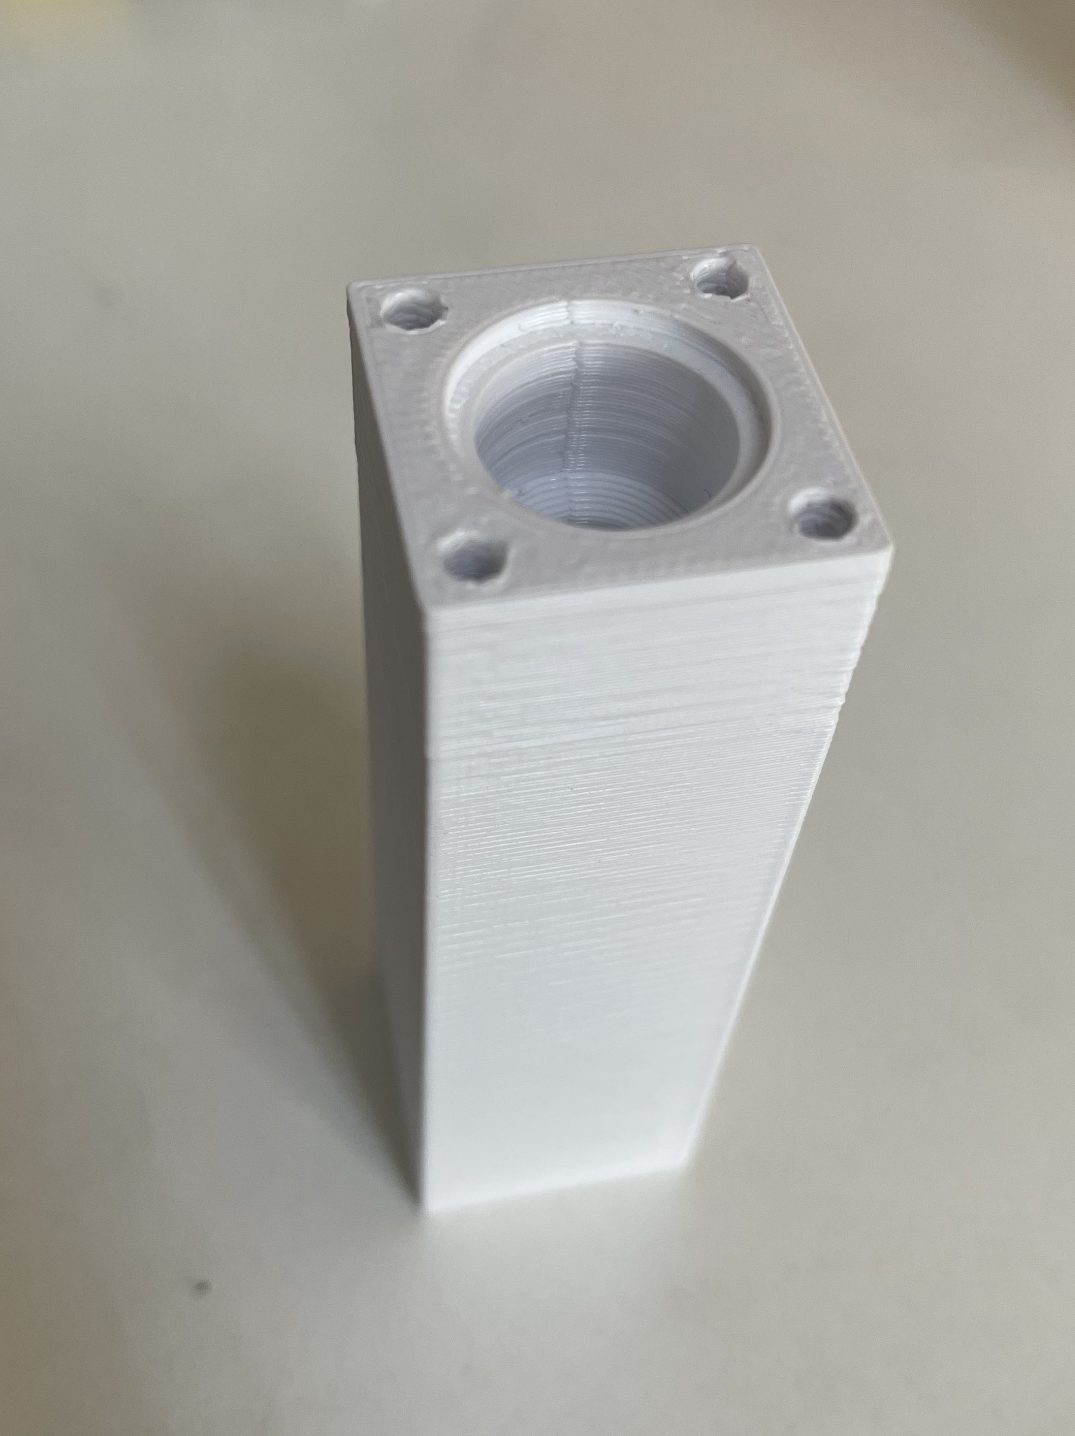
Injection Molding
Mold Design
A skilled engineer designs a two-part mold: the "cavity" and "core." These molds are precision-machined from metal, usually steel or aluminum, with extreme attention to detail to ensure accuracy, you can also made them with resin 3d print that is suitable for the temperature of the plastic that is injected.
Material Preparation
The selected plastic material, typically in the form of small pellets or granules, is fed into a hopper and then melted in an injection molding machine's heated barrel. We use Epoxy resin cristal or polyethylene.
Injection
The molten plastic is injected into the mold cavity under high pressure, using a screw or plunger. It rapidly fills the cavity and takes the shape of the pipette adapter, it's recommended that depending on the molten plastic used you put some type of Vaseline or grease so when it's time of the ejection of the piece its easier to take it out without breaking it.
Cooling
To solidify the plastic, the mold is cooled using water or air channels built into it. Proper cooling is critical to avoid warping or defects in the final product.
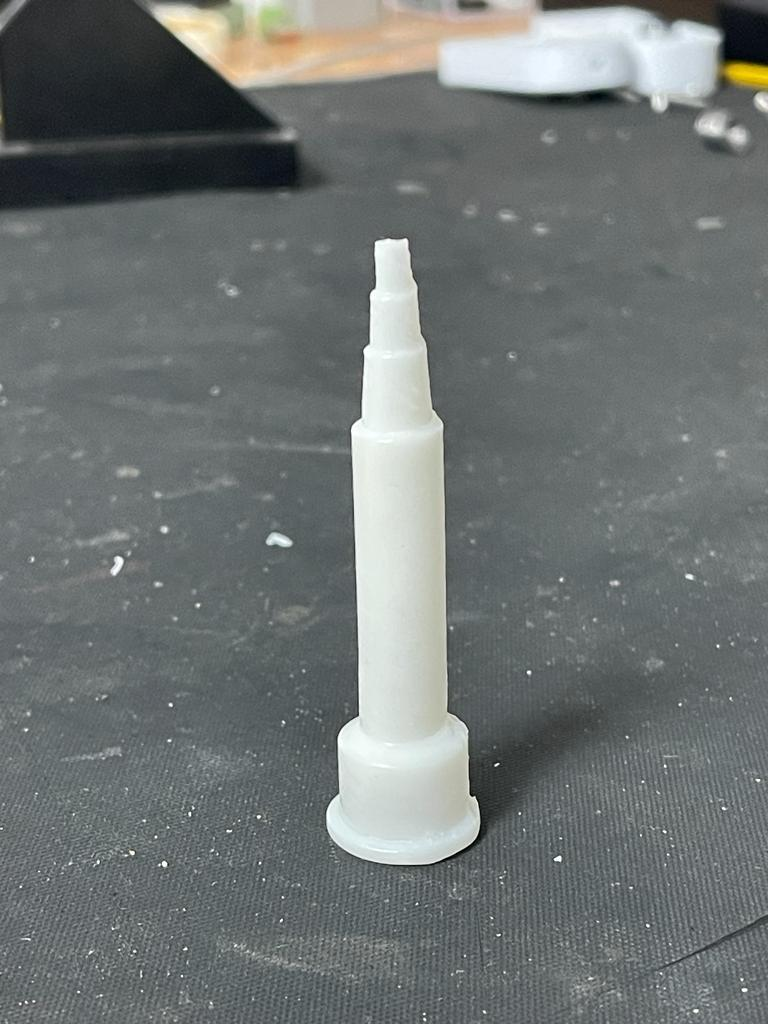
Ejection
Once the plastic has cooled and solidified, the mold opens, and the newly formed pipette adapters are ejected, usually by ejector pins or an automated system.
Resin 3D Printing
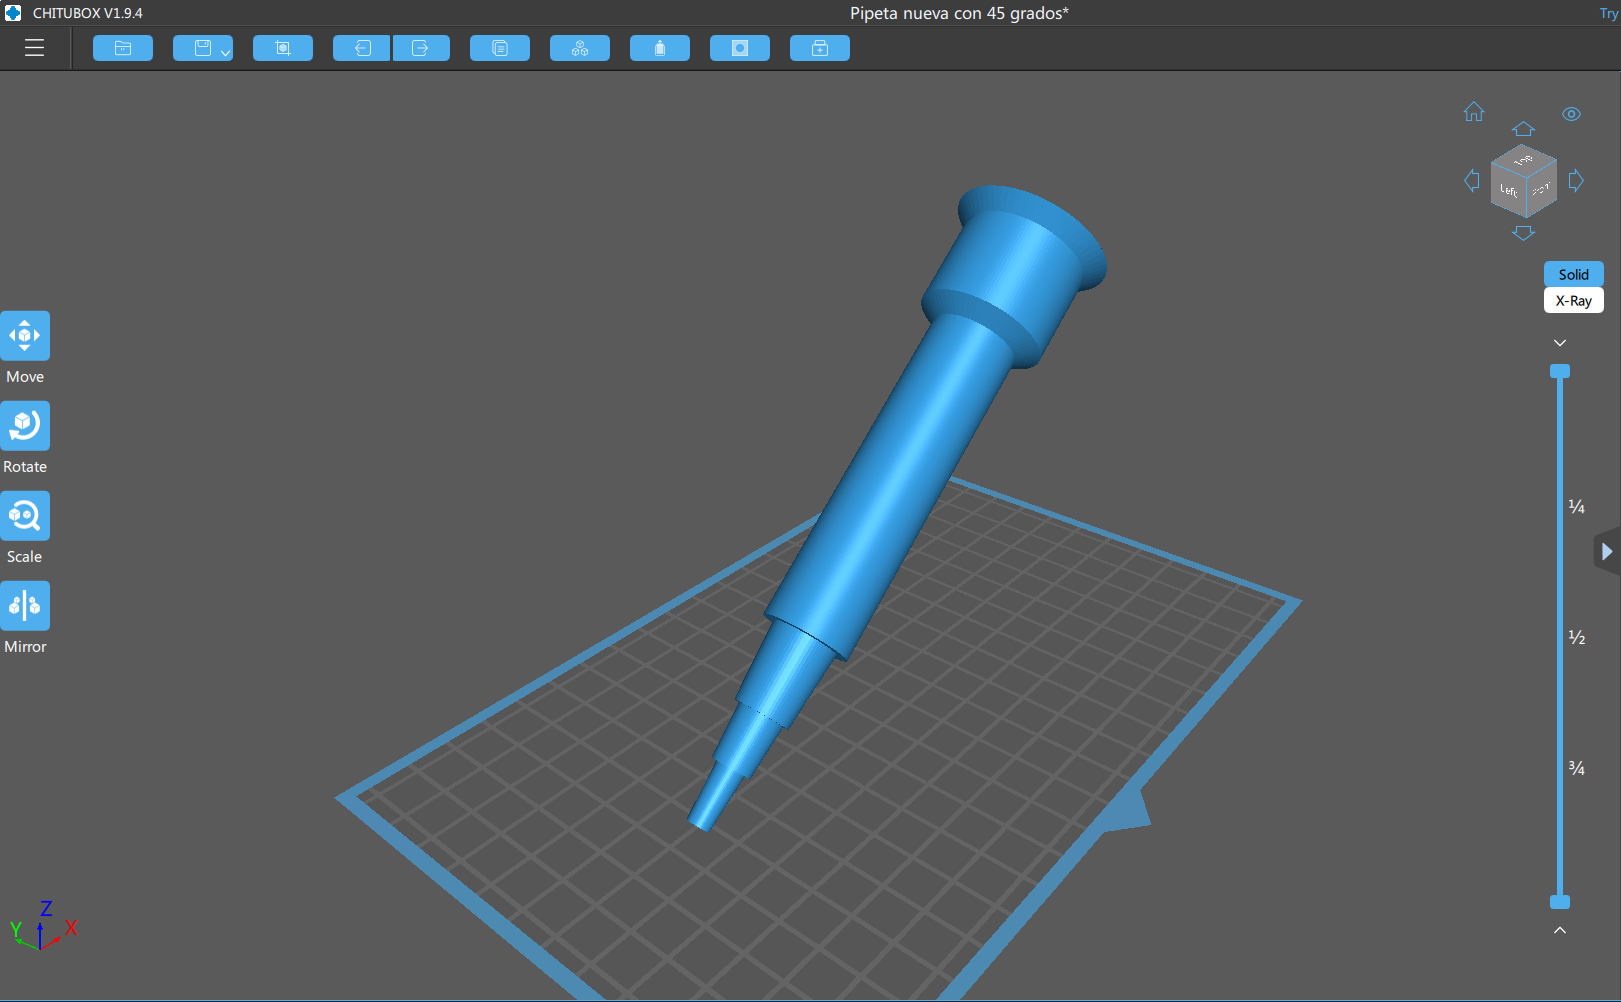
Design Preparation
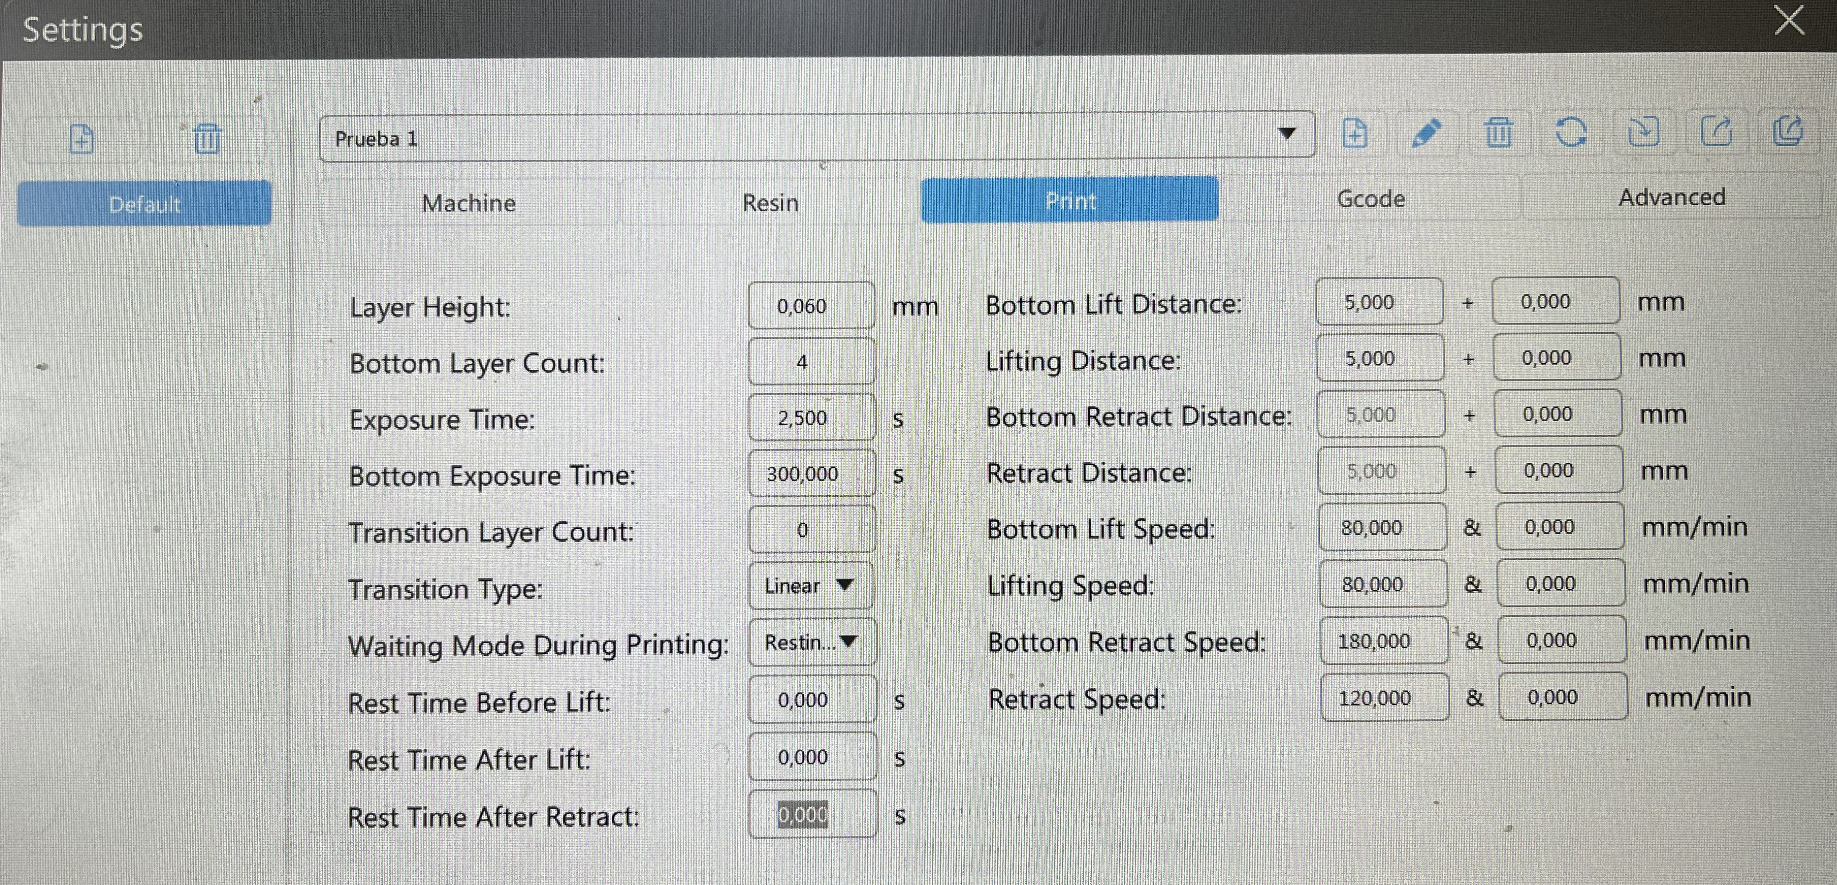
The 3D model of the pipette adapter is virtually sliced into thin layers using specialized software. These digital slices serve as the instructions for the 3D resin printer. We used CHITU BOX slicer for printing.
Printing
In resin 3D printing, a vat of liquid resin is exposed to either a laser or UV light. The laser or UV light selectively cures the resin layer by layer, solidifying it to form the desired shape. The build platform gradually moves upward as each layer is completed.
Post-Processing
After printing, the object is typically removed from the build platform and rinsed in a solvent to remove any uncured resin. Depending on the resin used, additional post-curing with UV light may be necessary to ensure the object's structural integrity.
Support Removal
If the design includes support structures to hold up overhanging parts, these supports are manually removed, and the adapter may undergo additional finishing processes like sanding or polishing.
Preferences
Turning
Material Selection
The chosen material, whether metal or plastic, is cut into a workpiece of the appropriate size and shape for the pipette adapter.
Mounting
The workpiece is securely clamped into a lathe or CNC (Computer Numerical Control) machine, which holds it in place and allows for precise rotational control.
Cutting
A cutting tool, which can be a variety of shapes and sizes depending on the desired design, makes contact with the rotating workpiece. It removes material in a controlled manner, shaping it into the desired form CNC machines are computer-controlled, ensuring high precision.
Finishing
After the primary shaping is complete, additional processes such as sanding, polishing, or surface treatments may be applied to achieve the desired surface finish and dimensions.
Quality Inspection
Each pipette adapter is carefully measured and inspected to ensure it meets the specified tolerances and quality standards, often with the use of precision measuring tools.
These processes are chosen based on factors like production volume, material requirements, design complexity, and desired precision, allowing for flexibility in manufacturing pipette adapters to meet various needs.