Install Raspberry Pi OS to an SD card
Installation Methods
There are a few ways to "flash" an operating system to an SD card:
- Graphical method with the Raspberry Pi Imager.
- Using the Linux terminal to manually flash the OS.
- Alternate command line tool, similar to the Raspberry Pi Imager: https://github.com/tonicsoft/raspios-headless-imager
Raspberry Pi Imager
The Raspberry Pi Imager is a graphical program that automatically writes an Operating System for the Raspberry Pi computer to an SD card, and configures common options.
Install Raspberry Pi OS using Raspberry Pi Imager
The imager program looks like this:
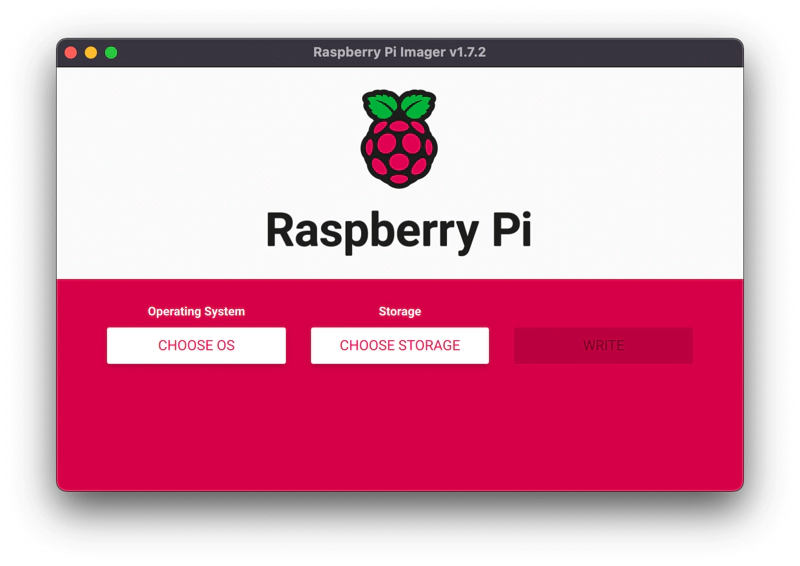
To use it:
- Choose OS → Raspberry Pi OS Lite (64-bit)
- Insert the SD in your computer
- Choose storage (detect your SD automatically)
- In the configuration option:
- Enable SSH
- Enable set host name
- Set username and password. (typically: pi, raspberry)
- Enable configure wireless LAN
- Enable set local settings
- Save and write
- Safely unmount and eject the micro SD card.
Manual method
Restore an SD card image to a suitable SD card, using the dd command-line from a Linux terminal.
Identify your SD card
Use lsblk to identify your SD card's partition.
Run the following command before and after connection the SD card to your computer.
The new device listed in the output should match your SD card.
Replace "YOUR_SD_CARD_DEVICE" below with the path to your SD card, found under /dev (e.g. /dev/sdx).
Danger
If you get the path wrong, you may cause irreparable damage to your computer's filesystem. Use these instructions at your own risk.
Flash the OS
Use only one of the commands below, depending on how your ISO file is stored.
Replace "YOUR_SD_CARD_DEVICE" with your SD card's actual device name (you may use "lsblk" to find it).
# For uncompressed ISO files.
sudo dd bs=4M status=progress if=path/to/systemimage.iso of=/dev/YOUR_SD_CARD_DEVICE && sync

# Use unzip for images compressed in zip format.
unzip -p pipettin_pi_pishrunk.img.zip | sudo dd bs=4M status=progress of=/dev/YOUR_SD_CARD_DEVICE && sync

# Use gunzip for images compressed in gz format.
gunzip --stdout pipettin_pi.img.gz | sudo dd bs=4M status=progress of=/dev/YOUR_SD_CARD_DEVICE && sync

# Use xz for Raspberry Pi images, compressed in xz format.
xz -dc 2023-05-03-raspios-bullseye-arm64-lite.img.xz | sudo dd of=/dev/YOUR_SD_CARD_DEVICE status=progress bs=4M conv=fsync
Next steps
Connect to the Raspberry
If you configured your Pi's networking details correctly in the previous steps, you can try to connect to the Pi through the network (i.e. headlessly) by following these instructions.
Updates and Configuration
If you installed Raspberry Pi OS, run sudo raspi-config and use the menus to:
- Enable I2C, under
Interface Options.
Continue with the setup
After connecting to the pi, continue with the software setup guide.
Troubleshooting
Unconfigured user
Warning
This might not be required.
This will set the default user and password to pi / raspberry.
On the bootfs partition add a ssh file and userconf file, using the following commands: