Using a Miter Saw to cut aluminum profiles
Using a Miter Saw to cut aluminum profiles
There are surely many ways to cut aluminum profiles to length, withing "acceptable" error tolerances.
One of them is using a "Miter Saw", and perhaps the simplest one is to look for a supplier that will cut them for you with good precision.
Here are our notes about the do-it-together way.
The Miter Saw
Only use this instrument if you have received proper education. You can hurt yourself badly if you do not learn how to use it properly and safely.
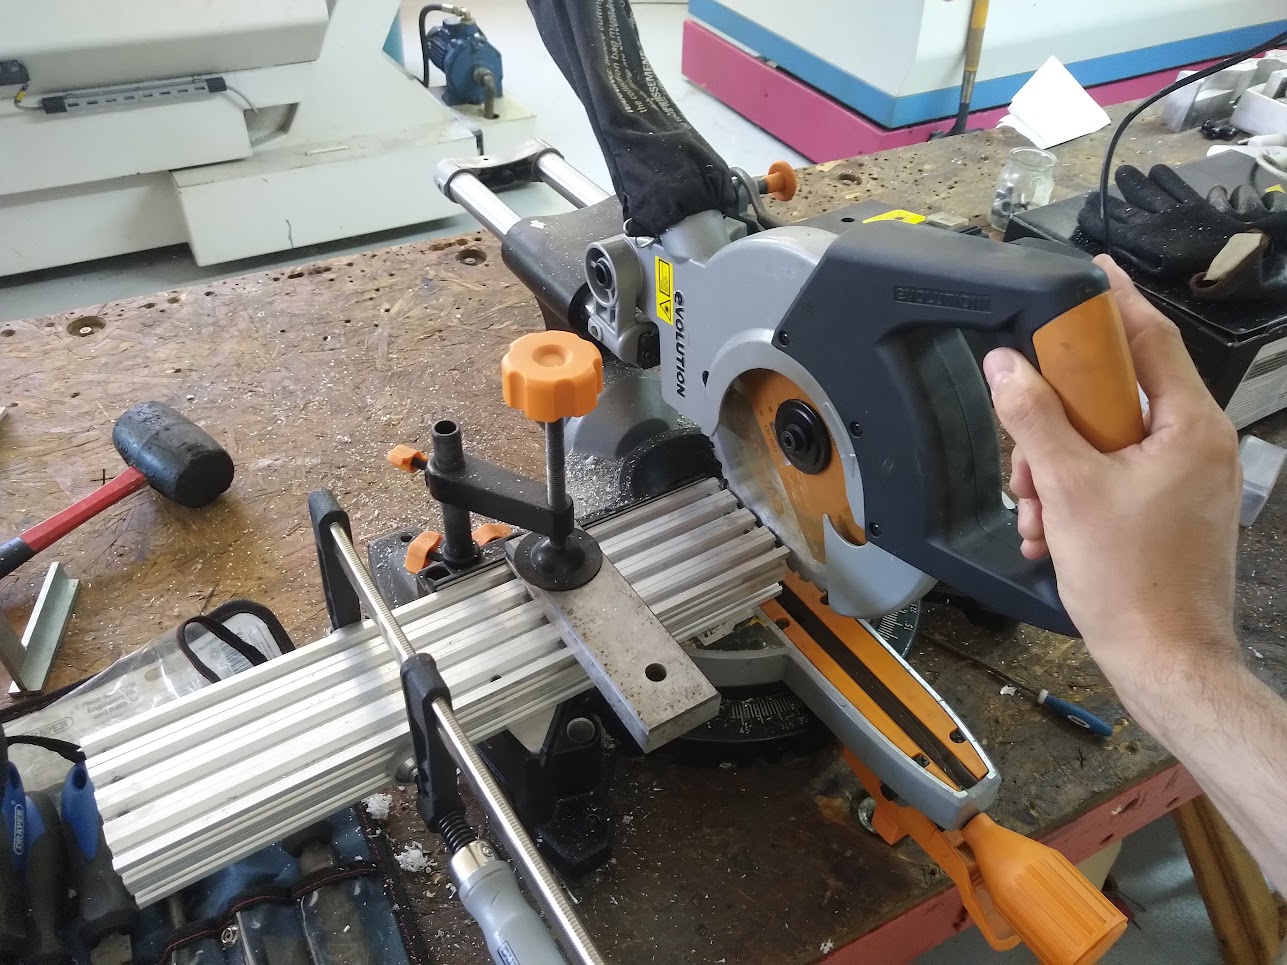
Our miter saw looks like this:

Setup
Due soon: add pictures.
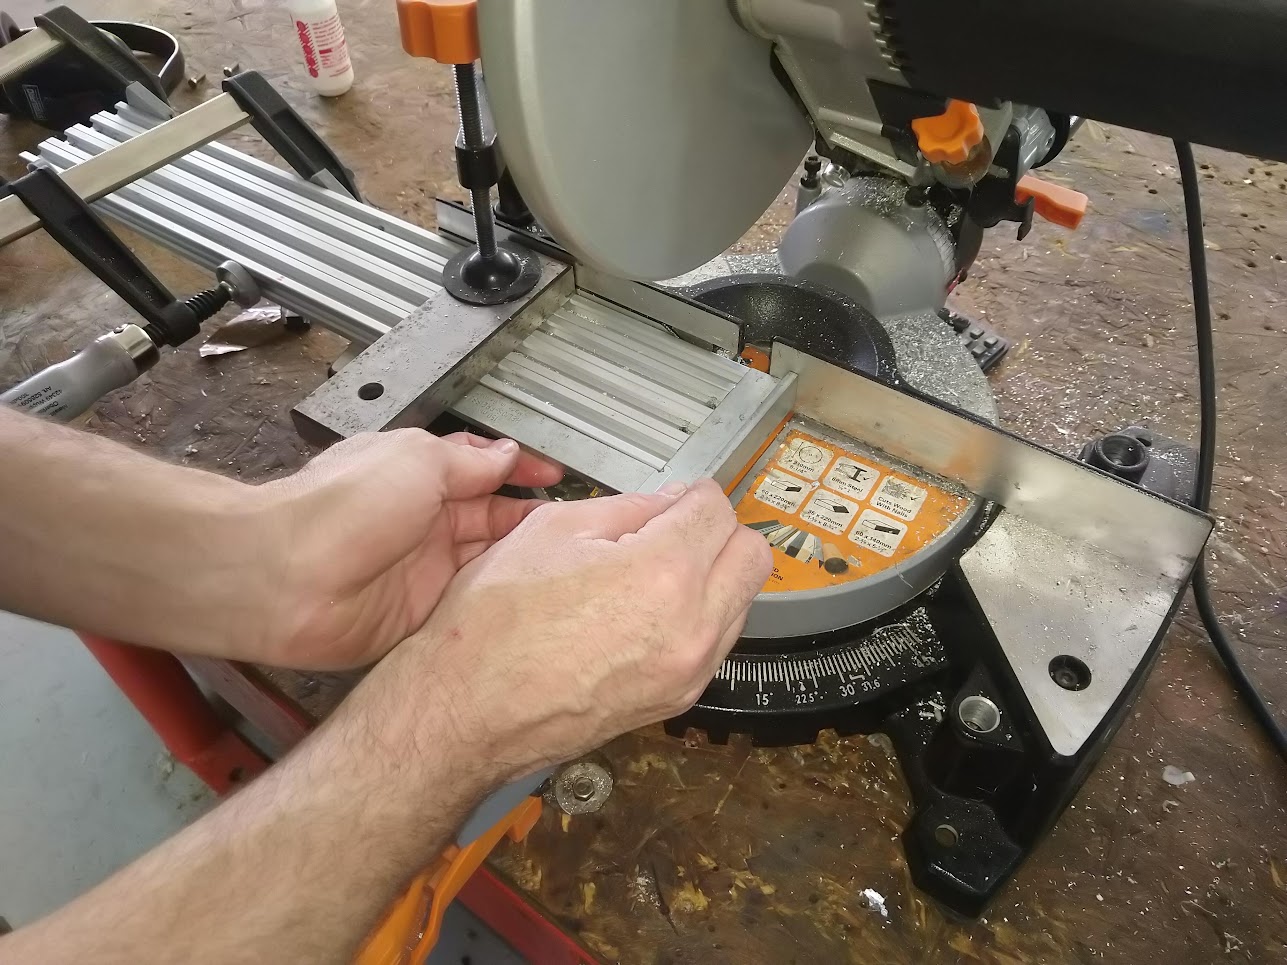
To cut profiles in a sufficiently square way you'll need to set two angles:
- The base angle to 0 degrees (0º relative to the saw's plane).
- Align the saw's "bevel" angle to the vertical position (0º).
Alignment
It's best to use a small sacrificial piece of aluminum to get the angles right:
- Set the angles as best as possible.
- Cut a sacrificial piece of aluminum extrusion.
- Measure the "horizontal" angle of the cut with a workshop square, and adjust the base angle.
- Measure the "vertical" angle of the cut with a workshop square, and adjust the saw's angle.
- Repeat steps 2 to 4 until you get a nice square cut.
- Now you can cut your other extrusions.
If you suspect that the saw is out of alignment, here are some videos covering how to fix it:
Cutting profiles to length
Step 1: Rough cuts
Profiles may come in long pieces, of 3 meters or more. We recommend that you first cut them into smaller pieces, to a working length that is a couple centimeters longer than their final lenght.
Make coarse cuts using a band-saw, angle grinder, regular saw, or other tool.
Warning
Because the profiles are long, they will bend if handled improperly. Make sure they are properly supported when making these rough cuts. Small bends will bring you headaches when assembling the structure. They can bend very slightly, and still cause important misalignments.
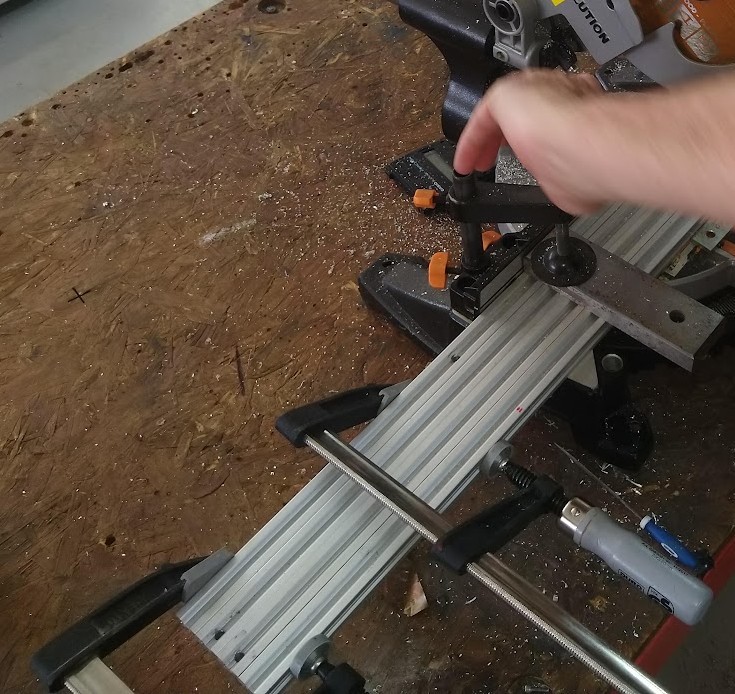
Step 2: Nice cuts
- Align the extrusions and make a "bundle" by fixing them relative to each other, using clamps. You might benefit from using a carpenter's square to get the bundle of profiles into "good" alignment (specially if some of the sides are already nice).
- Fix the bundle to the miter saw, ensuring that they are well aligned.
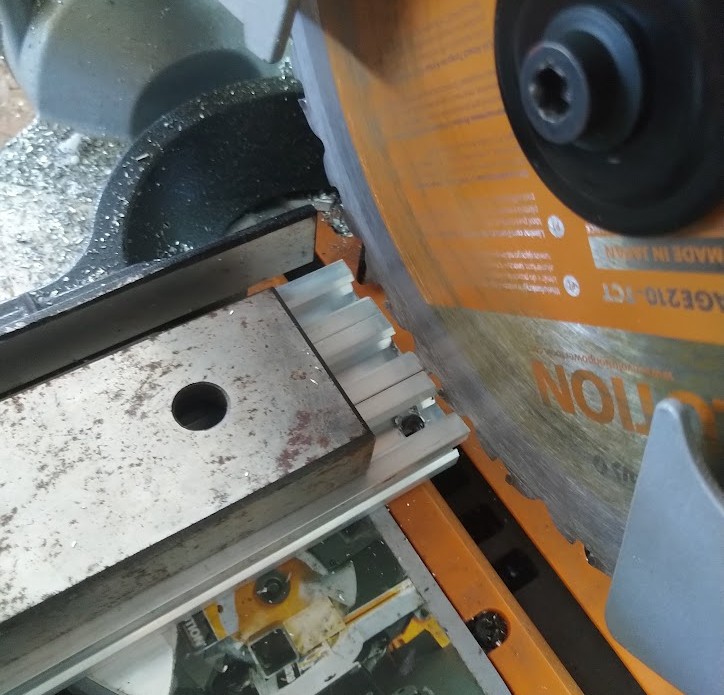
- Cut away the first side, and check for squareness.
- Mark the desired length precisely, using a ruler and a pencil or marker.
- Flip the bundle in the miter saw, aligning the saw with the mark made in the previous step. Take into account the width of the saw when aligning it to the mark.
- Cut away this side of the bundle, and check for squareness.
- Measure the final length, adn write it down.
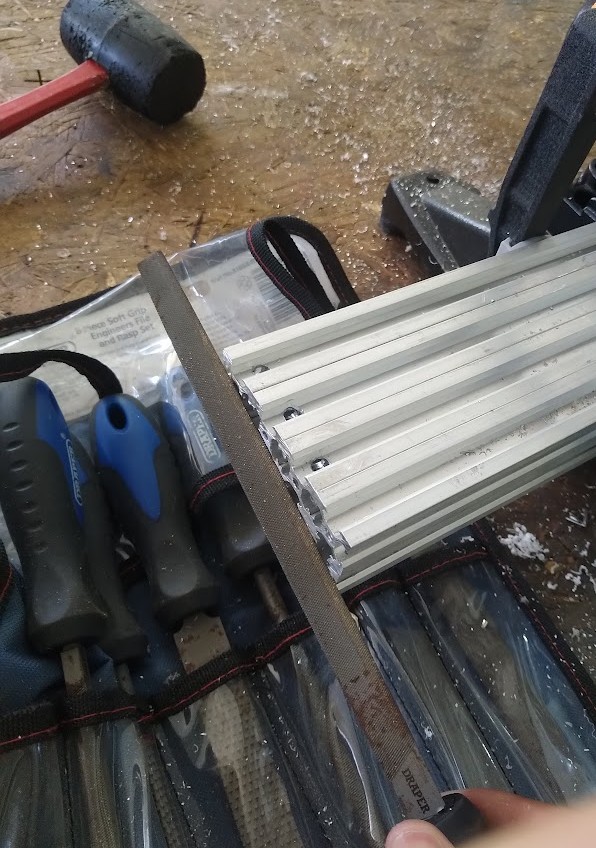
- Remove any remaining burr with a file tool, and you're done!
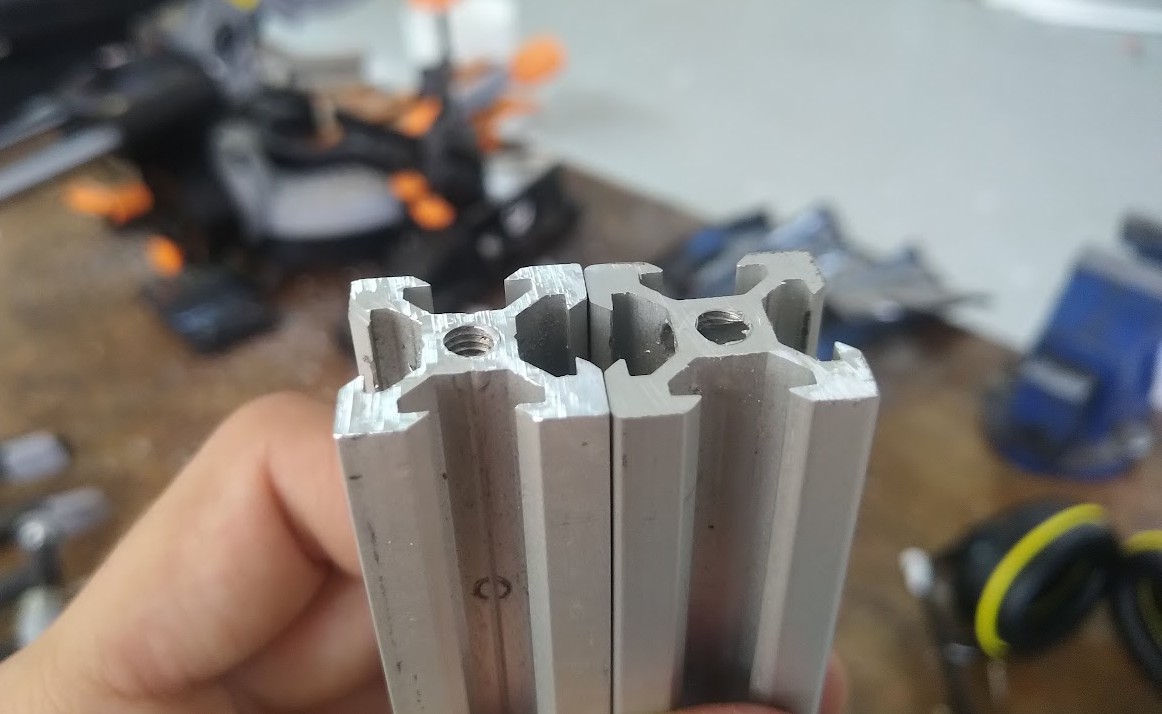
These cuts should look nice:
Here are some other types of clamps:
